 You can check that you’ve successfully connected your hi-fi to your PC using a couple of utilities that are provided with Windows.
Click Start > Programs > Accessories > Entertainment > Volume Control.
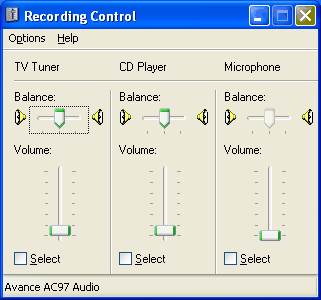
If the Recording Control display doesn’t already show Line In …
… click Options > Properties, select Recording …
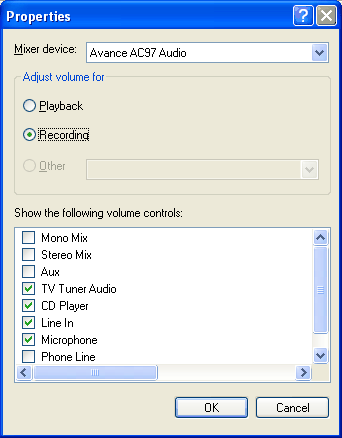
… and check Line In.
Now you’ll be able to vary the Line In volume …
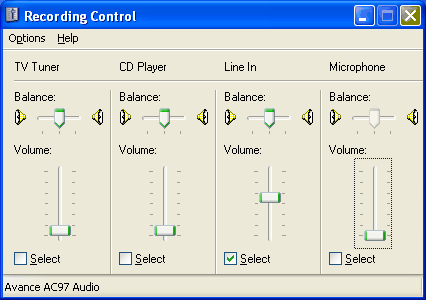
… by selecting it and adjusting the associated slider control.
You can now use the Sound Recorder utility to make a test recording.
Click Start > Programs > Accessories > Entertainment > Sound Recorder.
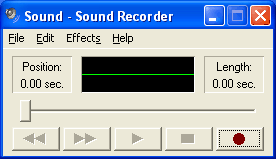
Start playing a record on your turntable and click File > New and then the right-most button to start recording.

It will be self evident from the Sound Recorder display if you’re recording successfully.
You can monitor progress of via a pair of headphones plugged into the appropriate socket of your sound card if you wish.
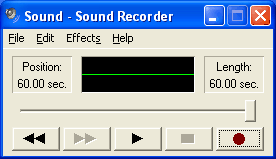
When the recording is finished …
… click File > Save As …
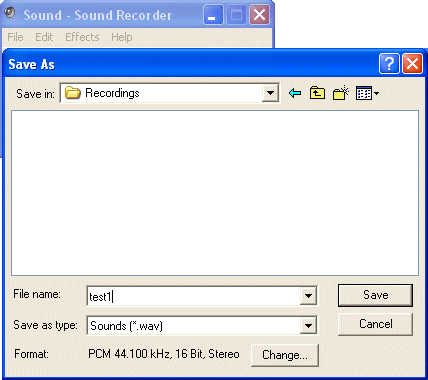
… and specify an appropriate filename.
Now verify that the recording has been made successfully by launching the Sound Recorder, clicking File, selecting the test file and clicking the Play button to initiate playback
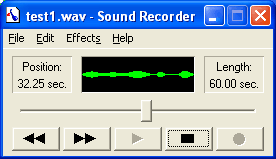
Check the quality of the recording either through your PC’s speakers or a pair of headphones.
Don’t worry if the recording exhibits signs of clipping distortion since we’ll be optimising the record level prior to making your first proper recording.