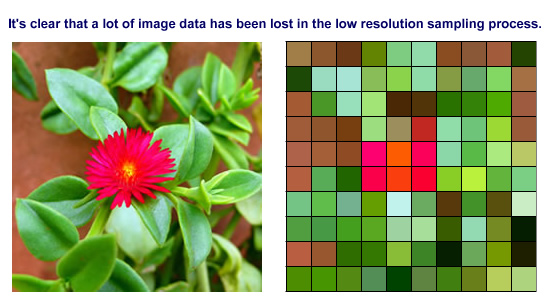
Seen side by side, it’s clear that the original image has been, to put it mildly, somewhat obfuscated by the sampling process.

Although in our example the difference is very noticeable, the loss of definition is an inevitable part of the image sampling process, no matter how fine the resolution. However, the fact is that the human eye is only capable of so much distinction, both of detail and of colour. In fact we fool our eyes all the time with any screen image by simply changing the screen more quickly than our eyes can detect, even when the image is apparently still. This gives some leeway when it comes to choosing a sample resolution for an image.
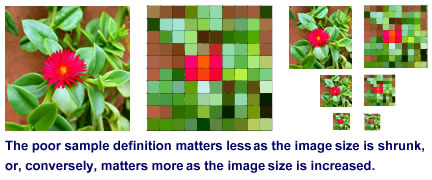
We’ll come back to that later in the article, but for now we’ll take a look at these two images at a much reduced size.

Digital image capturing devices such as scanners, digital cameras and digital camcorders are designed to be used with this knowledge in mind. Essentially, when sampling a very large image that is going to be shown in a smaller form, the sampling resolution need not be so high. If, on the other hand, a relatively small image is going to be blown up to a larger size, then the sampling resolution needs to be as high as possible. Otherwise, when the image is expanded, the pixelation seen in the above images will occur, and there’s very little that can be done about it. However, don’t forget that there is only so much detail that a human can use, and oversampling leads to bloated files full of data that is more or less invisible.
So, we now know how to sample an image, and in the next installment we’ll start to look at how the colours are turned into numbers.