It’s important to fit your CPU with some form of processor cooling device. In the case of a conventional heat sink and fan assembly, be aware that just because a fan says it’s suitable for a given CPU form factor, it’s no guarantee that it’ll fit your particular motherboard.

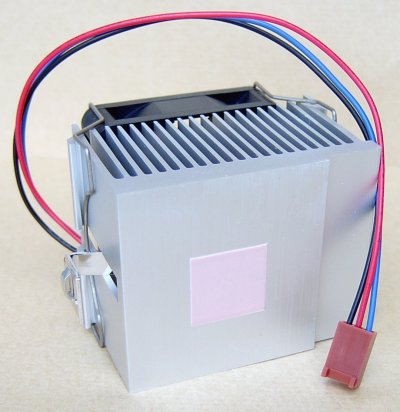
If the thermal pad that comes with the heat sink is too large for the processor chip it’s being attached to – as is the case here – it’s best to remove it.
This is easily done by scraping it off and then cleaning off the residue with an appropriate solvent.
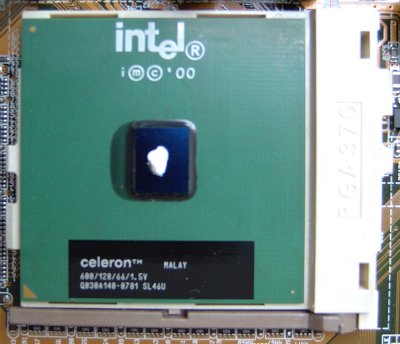
Use the same solvent to clean up your CPU. It’s safe to do this with the processor already fit in the motherboard, so long as you take care. All you’ll need is a dab of solvent on your lint-free cloth to do this.

You’ll now need to use an appropriate compound in place of the removed heat sink thermal pad.
Place a dab of this in the centre of the processor chip.

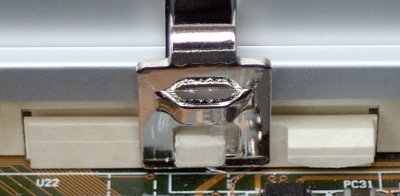
Then carefully position the heatsink on top of the CPU, lining up the heel end of the heatsink clip with the CPU socket tab.
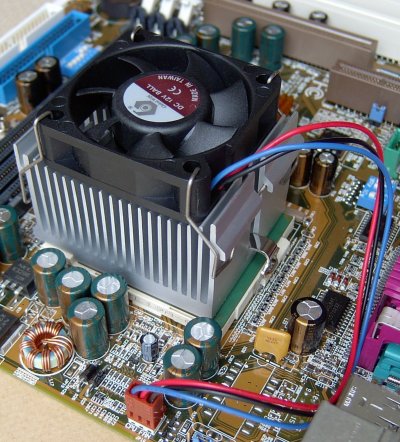
Using a screwdriver press down the opposite heatsink clip, lifting it over the other CPU socket tab so that the entire assembly is securely clamped into place.

Locate the motherboard CPU fan pin header and connect the fan power connector. This should be keyed to ensure correct orientation.
- Motherboard Upgrade Reasons
- Motherboard Removal
- Motherboard CPU
- Motherboard Heatsinks
- Motherboard Memory Identification
- Motherboard Memory Installation
- Motherboard Fit
- Motherboard Power
- Motherboard Panel
- Motherboard Fan
- Motherboard USB Ports
- Motherboard FireWire Ports
- Motherboard Audio
- Motherboard Testing
- Motherboard Floppy Connections
- Motherboard IDE Connections
- BIOS Settings
- Motherboards and Win98
- Motherboards and WinXP