The SCSI devices inside a computer are attached to an internal SCSI cable. The last device on the cable must be terminated. Most internal SCSI devices have a jumper or switch that controls termination. Refer to the device’s documentation on enabling or disabling termination.
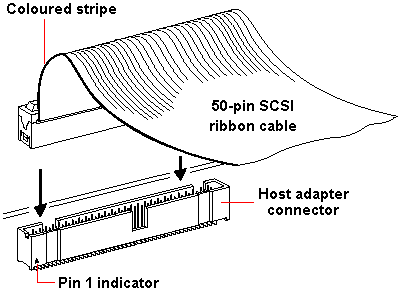
Find the coloured stripe on the 50-pin internal SCSI cable and then align it with Pin-1 on the host adapter’s connector. Pin-1 is usually identified an arrowhead or 1 on the connector.
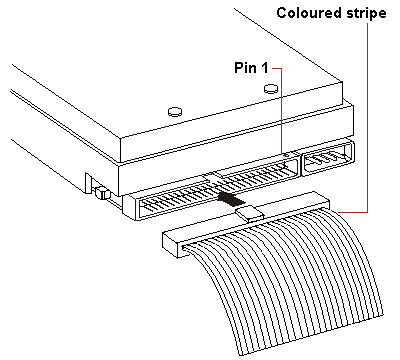
Align the SCSI cable’s coloured (typically red or blue) stripe with Pin-1 on the SCSI device connector, and then plug it in.
Generally, the SCSI device that is attached at the end of the internal SCSI cable should be terminated. However, if you are using both internal and external SCSI devices, you must disable host adapter SCSI termination.
Adaptec SCSI host adapter cards can be configured via a SCSISelect configuration utility which allows you to change host adapter settings without having to open up the computer’s system case.
To enter the SCSISelect utility, simply boot your system with the SCSISelect floppy disk inserted.

The available options may then be navigated and changed in similar fashion to a BIOS Setup facility.
The aforementioned Host Adapter SCSI Termination option can be configured to Automatic to either enable or disable termination as appropriate.
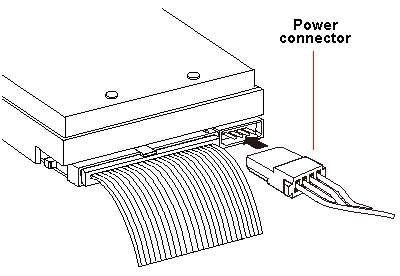
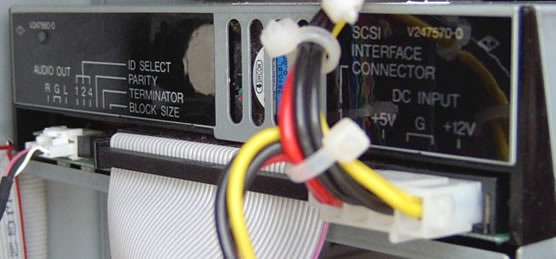
Connect a DC power cable from your computer’s power supply to the power connector on the SCSI device.
If appropriate, you may connect the CD-ReWriter’s analogue audio output connector to an audio amplifier or a sound card’s internal audio input connector using a sound cable terminated with a standard MPC-3 type, 4-pin connector.
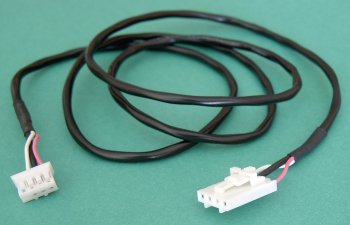
Often, retail optical drive products will include such a cable. The larger connector connects to the CD-ReWriter.
That completes the connection of the CD-ReWriter.
Now reboot the system to effect the installation of the associated driver software.