Unlike with earlier versions, provided your BIOS allows it, Windows XP Setup can be initiated by booting from the Windows XP CD-ROM. However, since in this tutorial we’re installing Windows XP onto a second hard drive, we’re going to initiate the installation procedure from the existing Windows 98 environment.
To set up your system to boot from the Windows XP C-ROM, you’ll probably need to access your system’s BIOS/CMOS settings and alter the boot sequence to try the CD-ROM drive before your C: drive.
If you’ve an older system it may be that you can’t set your BIOS to boot from the CD-ROM drive. If this is the case, don’t despair, Microsoft provide a download from which you can produce a six floppy Startup disk set which’ll allow you to initiate the installation from your floppy disk drive. Click here if you’re installing the Home Edition and here for the Professional Edition.
The Setup procedure will be much the same as described in this tutorial, albeit with the initial steps being run from an MS-DOS environment rather than Windows 98. The floppy-based Startup disk set will automatically load the necessary drivers to gain access to the CD-ROM drive for subsequent stages of Setup.
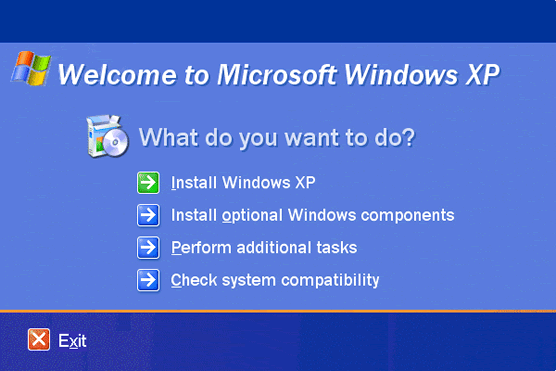
To do this, simply load the Windows XP CD-ROM into your CD-ROM drive, when the following screen will be displayed:

Select Install Windows XP.

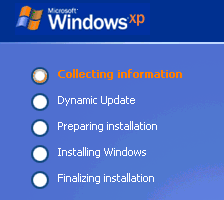
The Windows XP Setup now proceeds to the first step in its five phase installation process.
- WinXP Installation Planning
- Windows XP Upgrade Advisor
- WinXP Installation Information Collection
- WinXP Installation
- How To Do a Clean Installation of Windows XP – Phase 1
- Dynamic Update – How to do a clean installation of Windows XP
- Preparing Installation – How to do a clean installation of Windows XP
- WinXP Installation Phase 4
- WinXP Installation Phase 5
- WinXP Windows Update
- WinXP Driver Installation
- WinXP Installation Tuning
- Files and Settings Transfer – How to do a clean installation of Windows XP