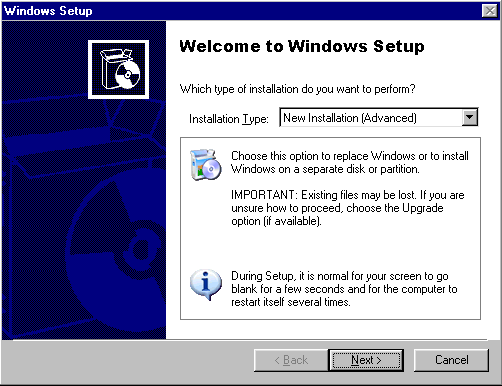
Select New Installation (Advanced) and click Next.
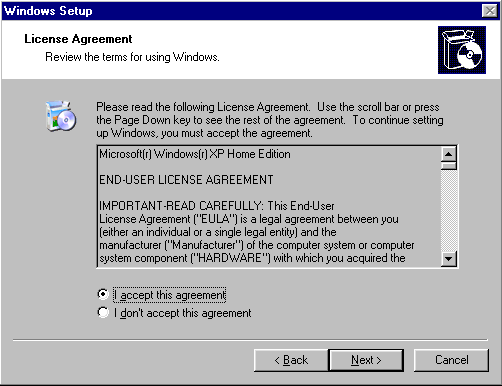
Indicate your acceptance and click Next.
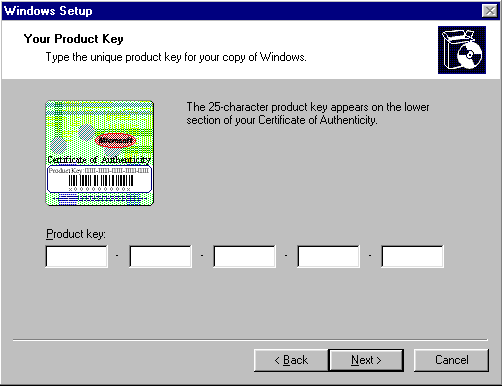
Setup prompts you to enter the Product Key.
Type the Product Key in the spaces provided. The Product Key is located either on the Certificate of Authenticity (COA) or on the backliner of your Windows XP CD. If the number you type is not accepted, check the following:
- Make sure the Caps Lock key is not on.
- If you are using the keypad to the right of your keyboard, make sure the Num Lock key is on.
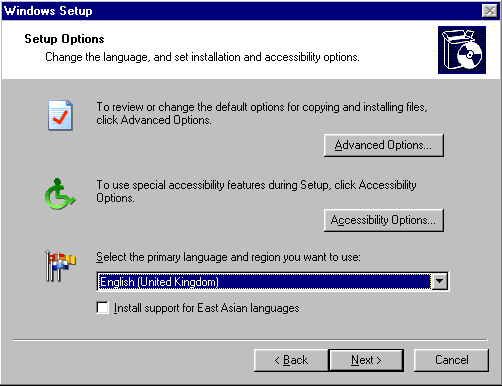
Since we want to create a dual-boot system, click Advanced Options.
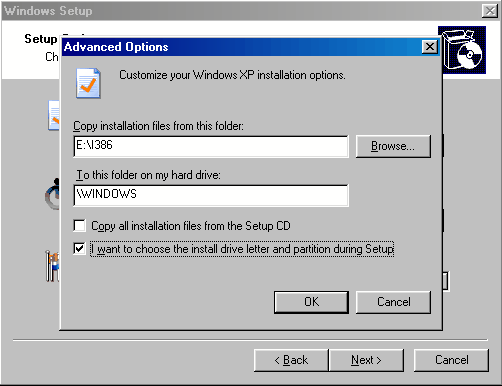
Since we want to ensure Windows XP is installed to the second hard disk drive, check the I want to choose the install drive letter and partition during Setup option and click OK.

When presented with the Setup Options screen again, make sure you Select the primary language and region you want to use, and click Next.
- WinXP Installation Planning
- Windows XP Upgrade Advisor
- WinXP Installation Information Collection
- WinXP Installation
- How To Do a Clean Installation of Windows XP – Phase 1
- Dynamic Update – How to do a clean installation of Windows XP
- Preparing Installation – How to do a clean installation of Windows XP
- WinXP Installation Phase 4
- WinXP Installation Phase 5
- WinXP Windows Update
- WinXP Driver Installation
- WinXP Installation Tuning
- Files and Settings Transfer – How to do a clean installation of Windows XP