Now’s the time to transfer the files and settings preserved from your previous version of Windows to the new Windows XP environment.
Do this by logging-in to the latter and clicking Start > All Programs > Accessories > System Tools and selecting the Files and Settings Transfer Wizard.
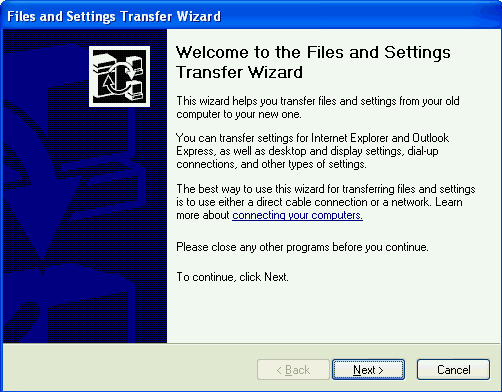
Click Next.
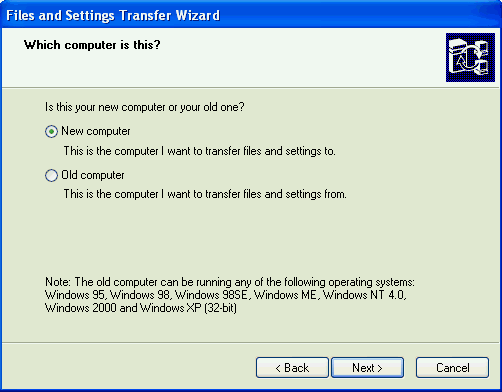
On the Which computer is this? screen, select the New computer option and then Next.
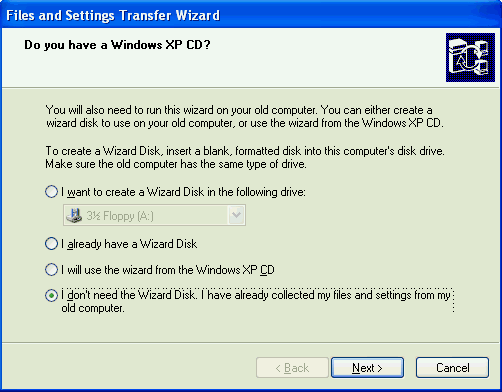
Select the I don’t need the Wizard Disk. I have already collected my files and settings from my old computer option and then Next.
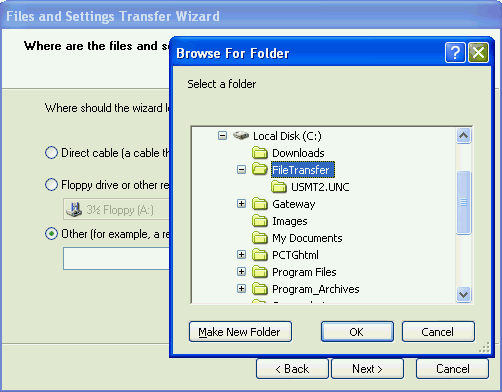
Select the I don’t need the Wizard Disk. I have already collected my files and settings from my old computer option and then Next.
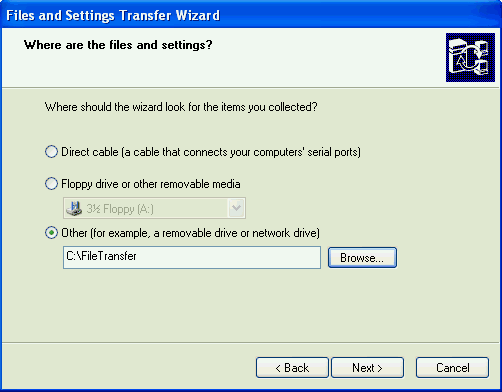
Click Next.
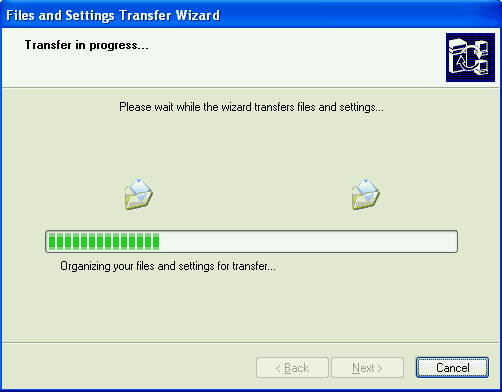
The Wizard organises your preserved files and settings for the transfer …
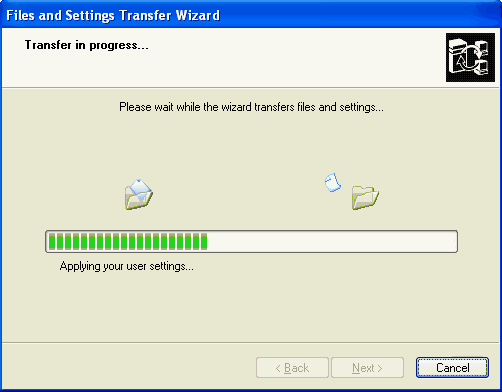
… then transfers the files and applies the settings.
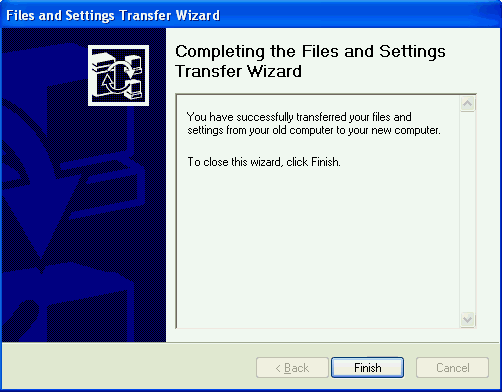
The Wizard then indicates that it is finished…

… and invites you to restart your system to effect the changes.
Useful Microsoft links:
- Windows XP Home Page.
- Windows XP Solution Centre.
- Windows XP Expert Zone.
- Maintain Security with Windows XP.
- Windows 98 Second Edition Solution Center.
- WinXP Installation Planning
- Windows XP Upgrade Advisor
- WinXP Installation Information Collection
- WinXP Installation
- How To Do a Clean Installation of Windows XP – Phase 1
- Dynamic Update – How to do a clean installation of Windows XP
- Preparing Installation – How to do a clean installation of Windows XP
- WinXP Installation Phase 4
- WinXP Installation Phase 5
- WinXP Windows Update
- WinXP Driver Installation
- WinXP Installation Tuning
- Files and Settings Transfer – How to do a clean installation of Windows XP