If you attempt to disable the Find Fast control panel by simply removing the Microsoft Find Fast shortcut from the StartUp group, the following problems may occur:
- The index files are not removed from the hard disk. The size of these index files depends on the number and size of Microsoft Office documents you store on your computer.
- Microsoft Office programs continue to use the existing index files whenever you click Open on the File menu. When you disable Find Fast by removing its shortcut, the index files are not updated as you create or modify documents. This may prevent you from finding files you want to open, or cause unnecessary delays when you open files.
The correct way to disable Find Fast requires that you delete the Find Fast index files. To do this, use the following steps:
- On the Start menu, point to Settings, and then click Control Panel.
- In the Control Panel window, double-click Find Fast.
- In the Index for documents in and below list, click the first item.
- On the Index menu, click Delete Index.
- In the Delete Index dialog box, click OK.
- Repeat steps 4 and 5 until no more indices are listed.
- On the Index menu, click Close And Stop. Then, click OK to stop Find Fast.
- Check to make sure there is no Microsoft Find Fast shortcut in the StartUp folder (Start > Programs > Startup). If there is, remove it.
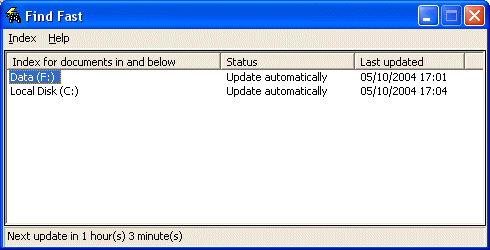
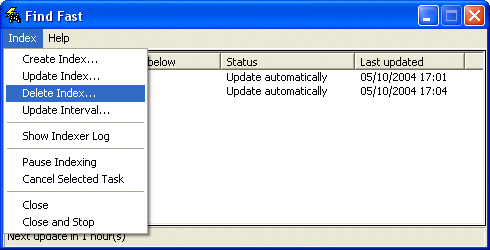
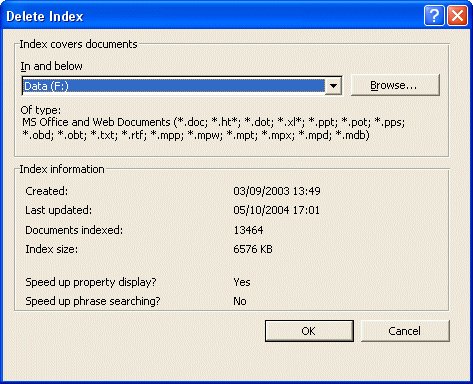
When you’re prompted whether to delete the index, click OK.
To re-enable Find Fast, do either of the following:
- Add the shortcut for Microsoft Find Fast back into the StartUp folder. The default command line for the shortcut is:
C:Program FilesMicrosoft OfficeOfficeFINDFAST.EXE, or
- Run the Microsoft Office Setup program, and reinstall Find Fast.
The next time you start Windows, as a consequence of the Find Fast Indexer having been removed from the Startup program group …
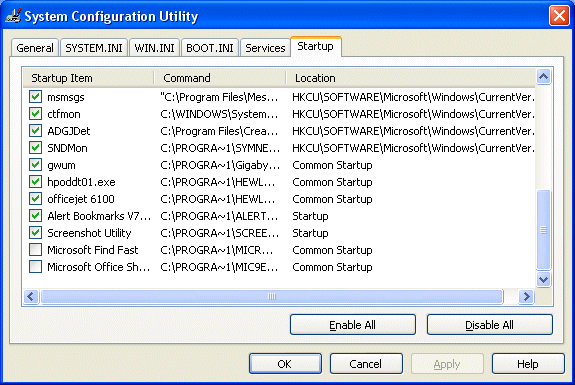
… you’ll likely see the following System Configuration Utility warning:
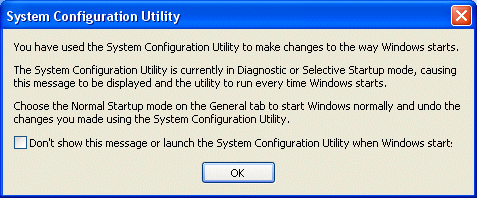
Check the box to inhibit the message or launch the System Configuration Utility, and click OK.