I’ve been talking a little lately about how to keep your desktop more organized. I absolutely hate clutter on the desktop. It makes finding things a pain. I try to put only the most important things on the desktop. I have seen many people put dozens of folders on the desktop because they access them frequently. Well, wouldn’t it be nice if you could put those folders in your Start Menu? You can accomplish this with a few simple steps.
You can do this with any folder, but I am going to be assuming that you will be doing this from a folder that is buried in a network share or in your My Documents.
Step 1. Open Up Windows Explorer
There is a Windows Explorer shortcut in the tool bar at the bottom of your screen.

Alternatively, you can right click on the Start Button and choose Windows Explorer.
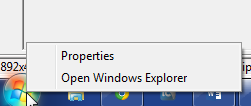
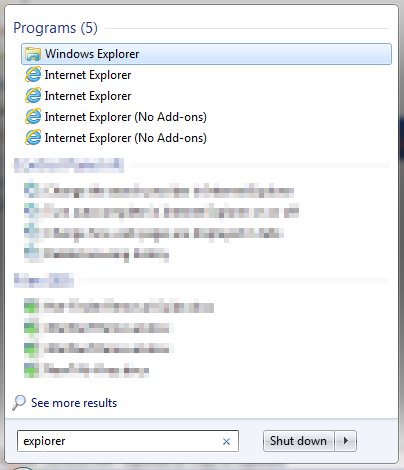
Or, you can click on the start button and type “Explorer” to find it
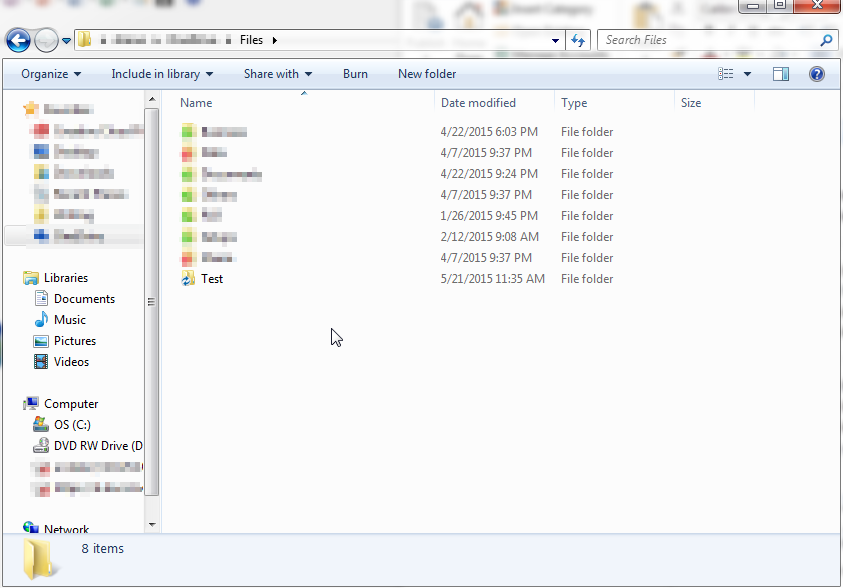
Step 2. Find Your Folder
Once in Windows Explorer, you will need to locate the folder you would like to add to the Start Menu.
Step 3. Drag Folder to Start Button
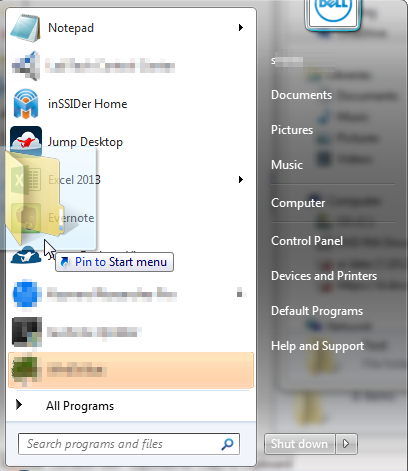
Add it where you would like it placed and it will be there for you to use until you remove it.
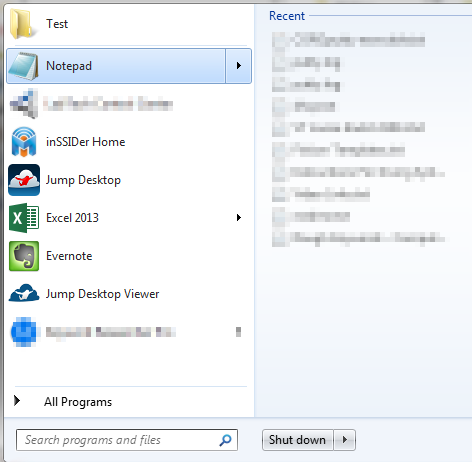
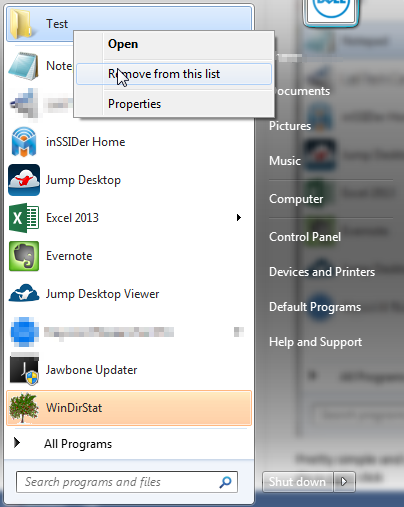
Pretty simple and quick to do, but it can go a long ways towards removing all the clutter on your desktop. If you want to remove it from the start menu all you have to do is right click and select “Remove From List”. This will not delete the folder and data inside. It will only remove the shortcut from the Start Menu.
Hopefully, this article provided some usefulness to you. If you dislike clutter on the desktop and would like to learn some other ways you can remove it from your computer, then let us know in the comments below. We will try to answer your questions in another article. Or, if you have a better way to accomplish this simple trick, then sound off below.