 There are many applications that cover the complete cycle of steps involved in the transfer of video cassettes to DVD. Typically, such fully-featured packages enable you to:
- capture video from DV cameras or external sources connected to your video capture device
- edit videos, by trimming unwanted footage from their beginning and end
- assemble videos into complete movies, with transition effects and added audio tracks
- create chapters using automatic scene detection and/or by setting them manually
- encode a video or movie into any of the MPEG or AVI formats
- record your video/movie to Blu-ray, DVD-Video, Video CD (VCD) and Super Video CD (SVCD).
Typically these will allow you to convert your video cassette tapes to DVD in a conventional phased project method of working. If want to do anything more than simply copy a video cassette to DVD – for example, do any editing or manual insertion of chapter points – this is the approach you’ll need to take.
Let’s CONVERT AV bundles the nerovision Express 2 application for this purpose.
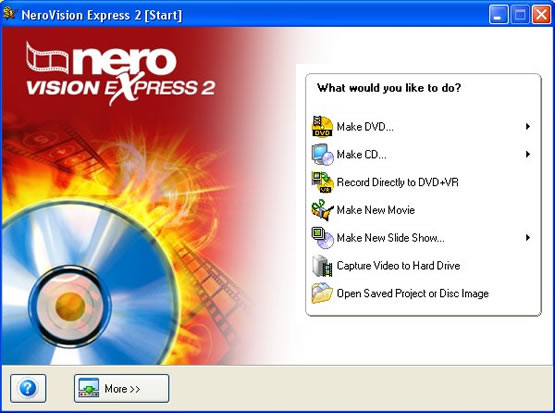
The following is an illustration of how this works.
![]()
At various points during the process you’ll be able to save your project, to a file with the extension .NVC (which stands for nerovision Express 2 Compilation).
The project may then be subsequently resumed from this point, via the Open Saved Project or Disc Image option.
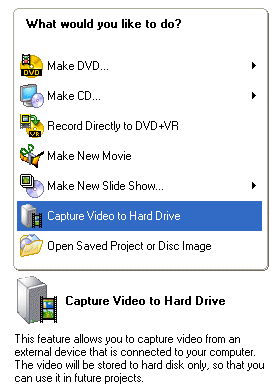
Start by selecting the Capture Video to Hard Drive option.
Select your capture device and the appropriate capturing template.
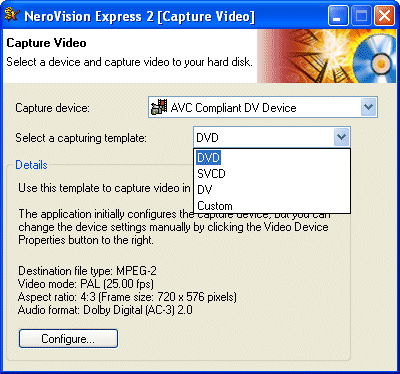
Use the Configure button to customise the properties of the selected template if required (for example, to specify analogue stereo sound instead of Dolby Digital).

… and cue this more precisely view the preview screen.
The Let’s CONVERT interface haw a couple of important advantages over nerovision Express 2, which mean that you might prefer to use it for the video capture phase, and switch to nerovision Express for the editing and subsequent phases.
- it allows you to both hear audio and see video during the capture process – which can be of significant benefit when cueing of the start and end of captures – while the NVE preview screen is video only
- it allows more options for MPEG-2 capture, while NVE allows capture at only one MPEG-2 resolution (highest quality) in addition to capture in DV format.
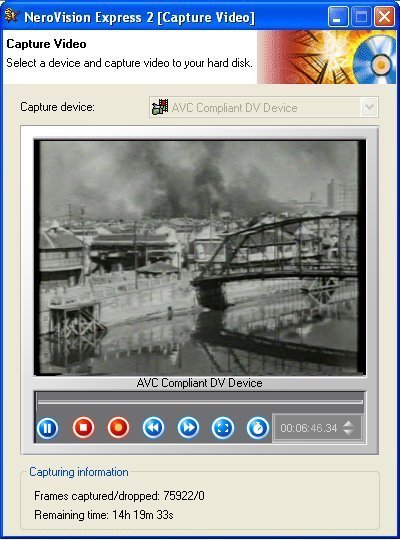
Click the record button (third from left) to commence recording. The number of frames captured and dropped are monitored.
Click the stop button (second from left) to terminate capture.
![]()
Click the Next button.
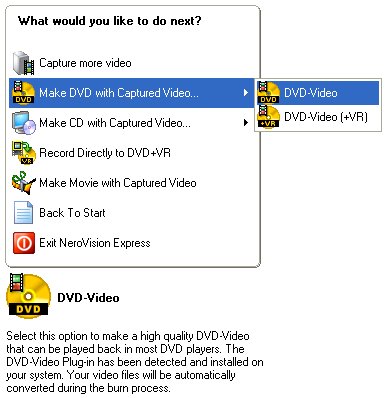
Select the Make DVD with Captured Video option and then the DVD-Video option.
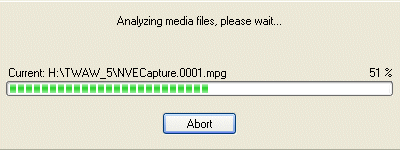
The captured video is analysed.
You now have the opportunity to trim any surplus footage from the start and end of the captured footage.
It used to be the case that if you wanted to perform any editing other than the simple trimming of excess footage from the start and end of your captured video, or cutting out entire scenes, you’d be better off capturing to and performing the editing in the DV format, and subsequently encoding the finished version of your video to MPEG-2, prior to burning it to DVD.
MPEG video streams consist of a sequence of sets of frames known as a GOP (group of pictures). Each group, typically eight to 24 frames long, has only one complete frame represented in full, which is compressed using only intraframe compression. Around this so-called I-frame are temporally-compressed frames, representing only change data. During encoding, powerful motion prediction techniques compare neighbouring frames and pinpoint areas of movement, defining vectors for how each will move from one frame to the next. By recording only these vectors, the data which needs to be recorded can be substantially reduced. P- (predictive) frames, refer only to the previous frame, while B- (bi-directional) rely on previous and subsequent frames.
With DV encoding each frame is compressed on an individual basis, rather than being compared to adjacent frames. Thankfully, modern-day video editors and processors hide the complexity, making it as easy for users to edit in MPEG-2 as in DV.
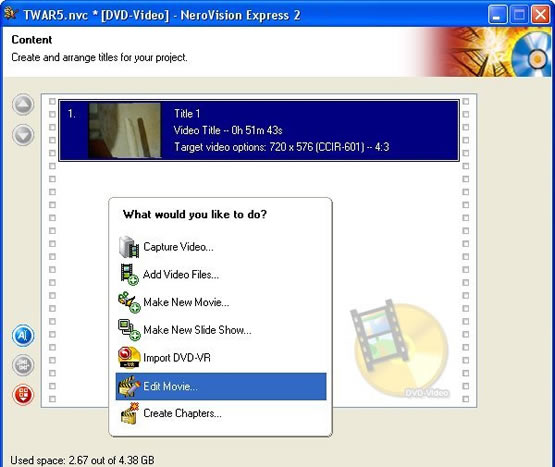
Click Edit Movie.
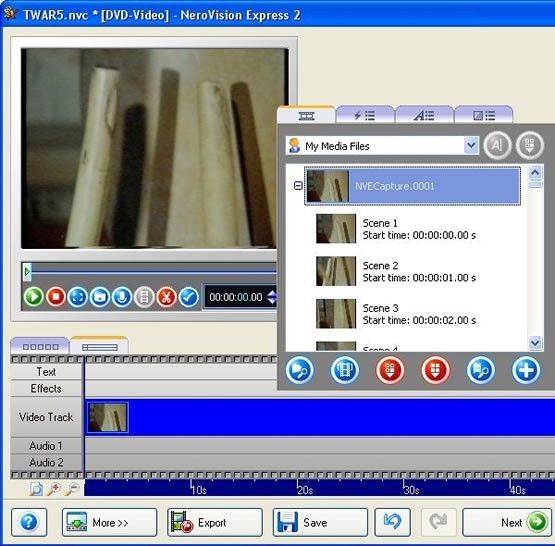
In common with most software of this type, you can choose between two modes of editing, storyboard and timeline. We’ll use the latter to get rid of unwantage footage at either end of the capture.
When you’re happy with your footage you have the option to Create Chapters.
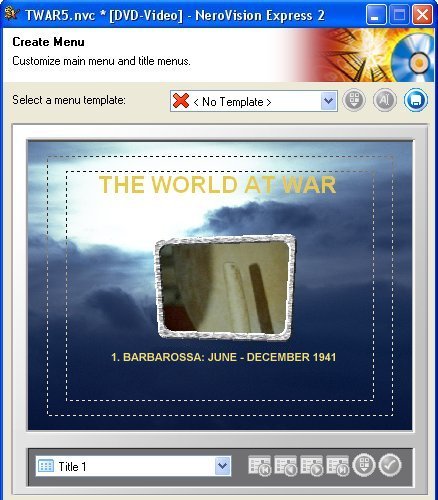
Since in this tutorial we’re actually making making a single TV-episode DVDs, we’re going to skip this and proceed to the Create Menu stage. This works by providing a library of menu templates, capable of extensive customisation.
As stated previously, the DVD being produced here will have only the one chapter.
When you’re happy with the menu design, click Next to proceed to Burn Options.
You have the option of writing a disc image to hard disk before burning it to DVD. This will make the overall process take longer, but may make the disc burning phase more reliable.
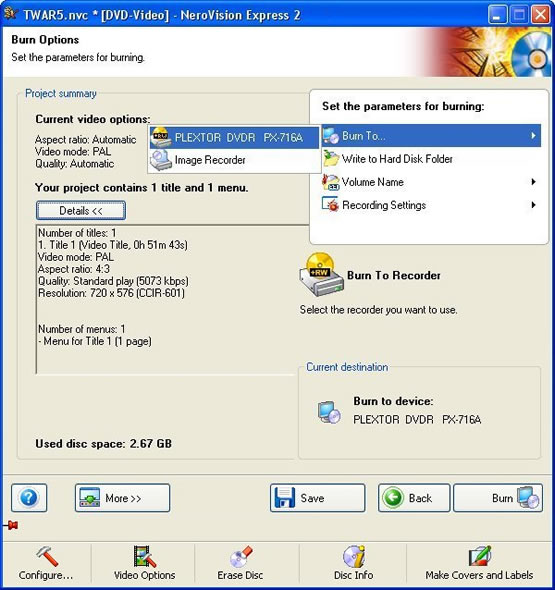
We’re going to opt for on-the-fly writing to disc, by sticking with the currently selected destination.
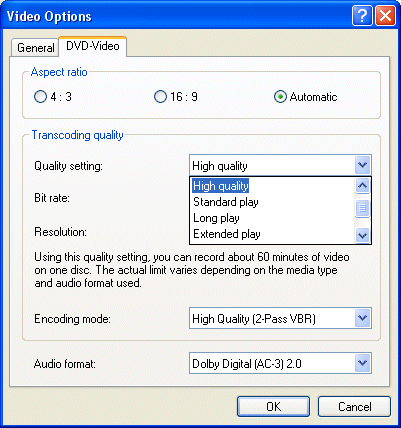
However, before we click Burn, we’re first going to opt for a better quality setting by clicking Video Options and altering the Quality setting on the DVD-Video tab.
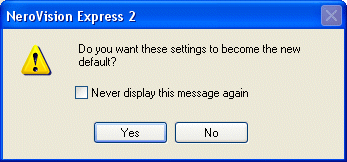
We’re then going to make this the new default quality setting when invited so to do.
The recording process commences by Creating menus and transcoding streams, and progresses through the following phases:
- Creating directories
- Writing Lead-in
- Writing tracks and lastly
- Writing Lead-out
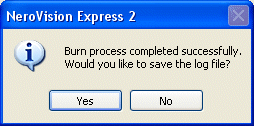
It should then signal its successful completion.
The big advantages of using specialised video capture hardware are the speed of operation and the quality of the end result.
In this tutorial, a 52-minute video cassette recording was captured and encoded to high-quality MPEG-2 in real-time. The subsequent trim-editing, menu creation and DVD burning (at 16x speed) took a further 15 minutes!
It was not so long ago that such an job would have been an overnight operation, and possibly more than one overnight before it managed to complete successfully!
- Transfer VHS to DVD Method
- VCR to DVD – Video Digitisation and Compression Codecs
- VCR to DVD Conversion – Video Capture Cards and PC Hardware
- How to Transfer VCR Video to DVD – Preparation
- Converting VCR Video to DVD Using Canopus ADVC-55
- Connecting External DV Converter Hardware to VCR and PC for VHS Video to DVD Transfer
- Testing the External DV Converter
- Installing the Software for the ADVC-55 DV Converter – including NERO
- One-Click Operation of VHS Video to DVD Transfer Using ADVC-55
- Rip / Import / Copy VCR VHS Video and Burn to DVD with Nero
- Labelling your DVDs – tutorial on how to transfer your VCR tapes to DVD