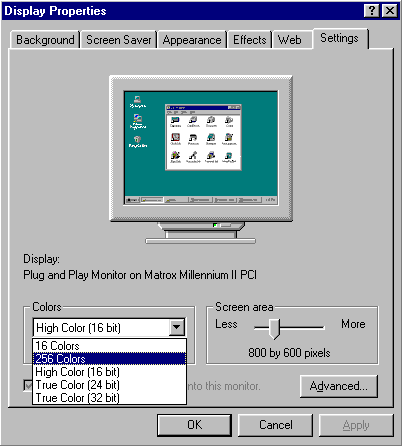
When we checked Display Properties earlier, to confirm drivers for the new card had been installed successfully, you may have noticed that they indicated a colour resolution of 256 colours.

Now’s the time to adjust both this and display resolution you want to run at.

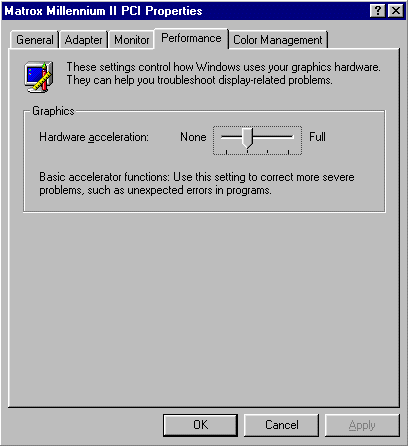
You may also want to adjust the Hardware acceleration slider on the Performance tab.
This the new graphics card used in this tutorial is actually an old (circa 1997) PCI card. These days, most people upgrading their graphics card will be upgrading to an AGP card. Where this is the case, it’s important to check that your motherboard’s video BIOS settings are configured appropriately.
Consult your motherboard and graphics card User Guides to determine precisely how these should be set. Typically, they’ll include:
- AGP Mode: Sets the appropriate mode for the installed AGP card. Usually set to the fastest speed (1X to 8X) your AGP slot/card is capable of supporting.
- AGP Fast Write: Fast Write technology allows the CPU to write directly to a graphics card without passing anything through the system memory, thereby improving performance.
- AGP Aperture: Controls how much system RAM can be allocated to AGP for video driving purposes. The aperture is a portion of the PCI memory address range dedicated to graphics memory address space. Host cycles that hit the aperture range are forwarded to the AGP without any translation. Typically configurable in steps from 4MB to 256MB.
- AGP Master 1 W/S Write and Read: Allows the insertion of one wait state into AGP write and read cycles, respectively.
- AGP Read Synchronisation: Allows the AGP Read Synchronisation feature to be either enabled or disabled