Having performed the preparatory tasks and physically connected the hard disk drives, we’re now ready to configure the RAID array.
Insert the Windows XP CD-ROM in the CD-ROM drive and power-on the system.

Press Ctrl-G to enter the GigaRAID BIOS when so directed.
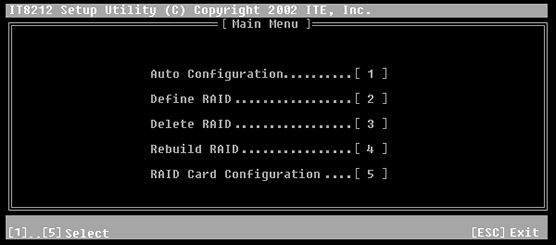
The Setup Utility’s Main Menu will be displayed.

Press 1 to enter Auto Configuration.

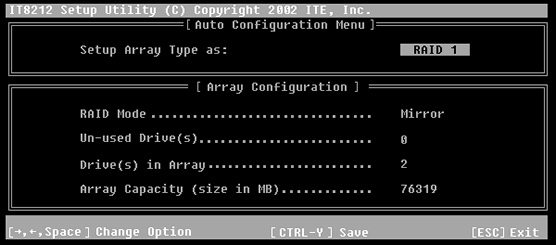
Set up the Array Type as RAID 1.
Press CTRL-Y to save the setting, followed by ESC to first return to the Main Menu and then to resume booting.
The system proceeds to boot from the Windows XP CD-ROM and enters Windows Setup.
- RAID tutorial – the benefits of using RAID
- RAID tutorial – preparing for the installation
- RAID tutorial – connecting the hard drives
- RAID tutorial – configuring a RAID array installation
- RAID tutorial – installing the drivers
- RAID tutorial – installing Windows on the RAID drive
- RAID tutorial – maintaining the RAID array