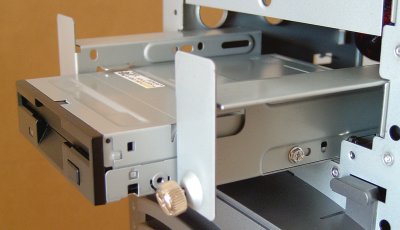
As will have been seen earlier, the system case we’re using has a 3.5in bay assembly capable of holding two 3.5in devices.
This may be removed by unscrewing the two silver thumbscrews located at the bottom and sliding the drive bay assembly out.

We’re going to install the floppy drive in the bottom drive bay and then slide the whole assembly back into the case and fasten the thumbscrews.
If you don’t have a removable assembly, simply slide the drive into an available 3.5in bay and secure with screws on either side in the normal way.
If you have to, a 3.5in drive can be fit into a 5.25in drive bay using a 3.5in to 5.25in mounting kit. Generally these will include a mounting bracket, face plate, power adapter and all necessary screws.

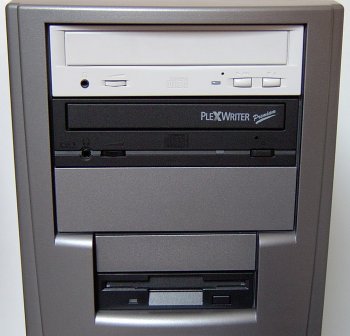
Replace the top half of the front bezel and make sure both the CD-ReWriter and floppy disk drive are positioned flush with its front edge.
In recognition of the trend towards systems being increasingly available in colours other than traditional beige, a number of system case manufacturers are selling front-loading drive bezels in colours such as black or grey, or in steel or aluminium metallic finishes that match their range of cases. Moreover, a number of optical equipment manufacturers are also producing drives in more than a single colour.
- Drive Installation Terminology
- CD-RW Installation Intro
- CD-RW Installation Configuration
- CD-RW Installation Mounting
- CD-RW Installation Connection
- CD-RW Installation Bios Setup
- CD-RW Burning Software
- CD-RW Installation Optimization
- Floppy Installation Intro
- Floppy Installation Mounting
- Floppy Installation Connection
- Floppy Drive Installation BIOS Setup