This is a three-stage process, as follows:
- installing the network card
- Connecting the network cables
- installing the network card drivers.
installing the network card:
Note, it’s important that you free yourself of static electricity before you handle your network card. You can do this by touching a grounded metal object. Better still, you should wear an anti-static wrist strap whenever you touch any of your PC’s components, whether already installed or not.
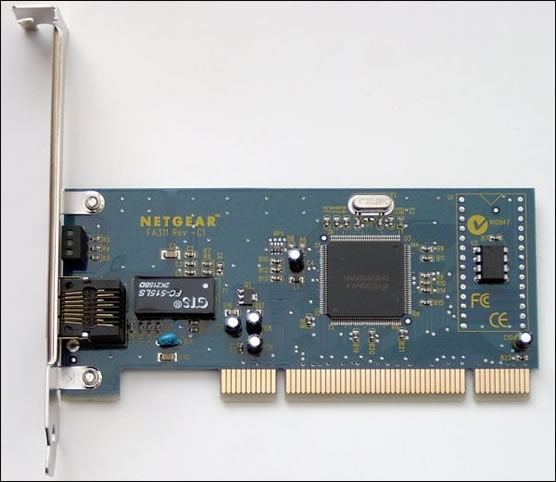
- Turn the power off and unplug the power cord from your PC.
- Remove the PC cover, select an available PCI slot and remove the corresponding back plate from the PC chassis.
- Insert the network card into the PCI expansion slot.
- Fasten the network card to the rear of the PC chassis by tightening the screw into the card’s backplate.
- Replace the PC cover and reconnect the power cord.
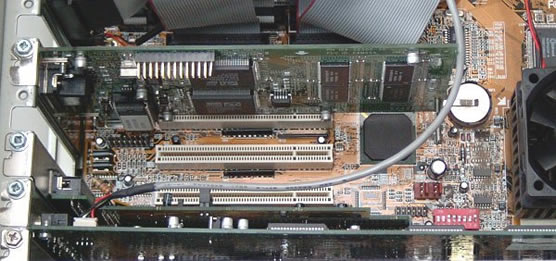
To avoid damaging any components on the network card, handle it by its edges, using your thumbs to push it securely into the PCI slot. Make sure its fully inserted into the slot, otherwise Windows is likely to freeze-up at system startup.
Connecting the network cables:
Using an appropriate unshielded twisted pair (UTP) cable, connect any port on the ADSL modem/router to the port on the network card.
installing the network card drivers:
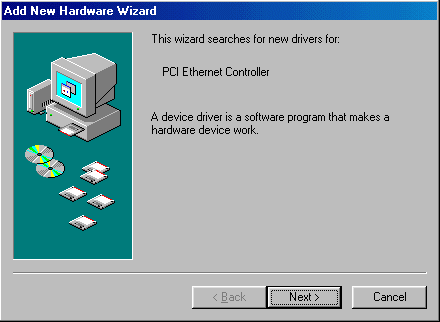
Turn on the power to the PC. When Windows starts, it’ll signal that its found new hardware and launches the Add New Hardware Wizard.
The steps in the procedure are illustrated below, in the context of Windows 98:
- Click Next.
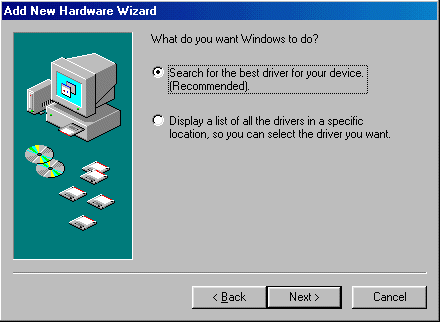
- Select Search for the best driver for your device and click Next.
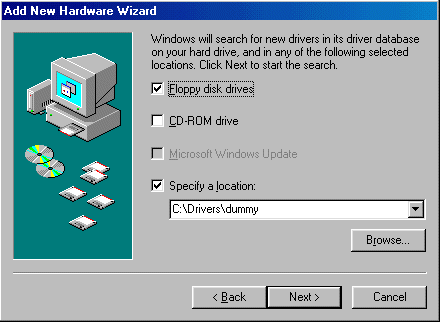
- Select Floppy disk drives, insert the floppy disk supplied with the network card into the floppy drive and click Next.
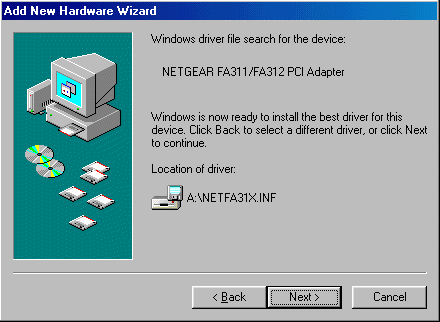
- Windows signals that it has located and is ready to install the network card’s driver. Click Next.
- Windows requests access to the Windows 98 Second Edition CD-ROM.
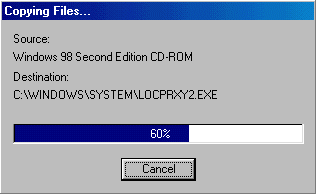
- Windows extracts the necessary files from the CD-ROM.
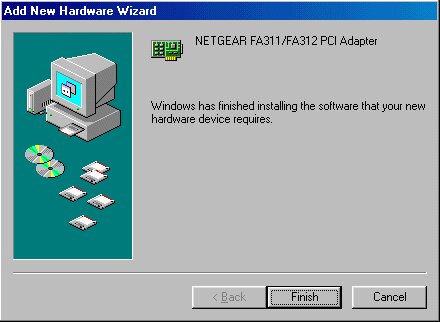
- The wizard then signals that the installation of the drivers is complete. Click Finish.
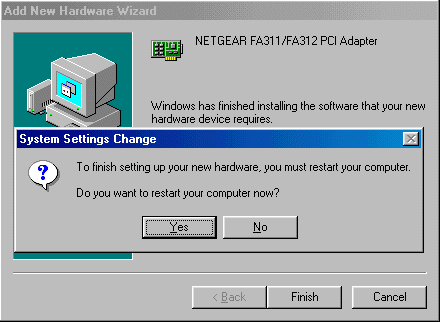
- You must then restart your PC for the installed drivers to become effective.
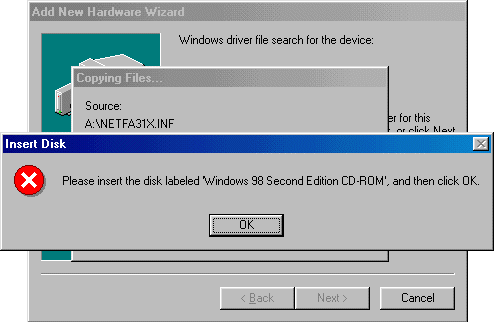
Insert the disc in the CD-ROM drive and click OK.
You can verify that your network card’s drivers have been properly installed as follows. From the Start button, select Settings, Control Panel and System. Select the Device Manager tab and double-click on Network adapters.
If there is a problem with the installation of the driver, an exclamation mark in a yellow circle will be displayed next to the appropriate network adapter.
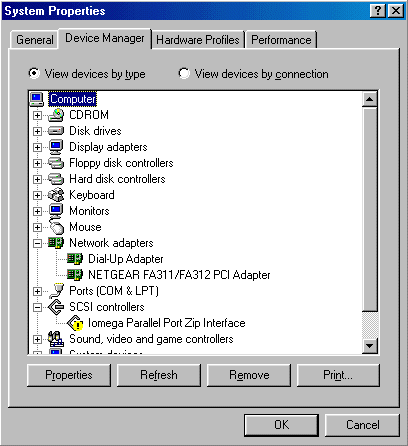
If that’s the case, double-click on the adapter entry. The Properties window opens and a message regarding the status of the device is displayed.
The Microsoft Knowledge Base Article entitled Explanation of Error Codes Generated by Device Manager provides a listing of error codes and associated error messages, together with explanations and possible resolutions.