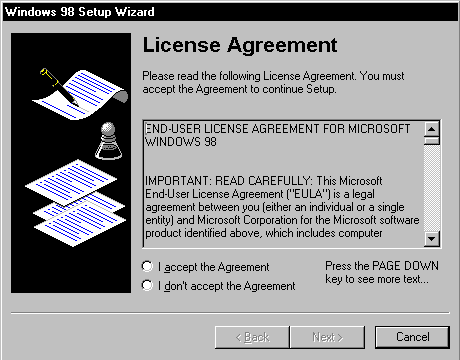
After Setup Wizard is loaded the License Agreement is displayed. You must accept the License Agreement to continue.
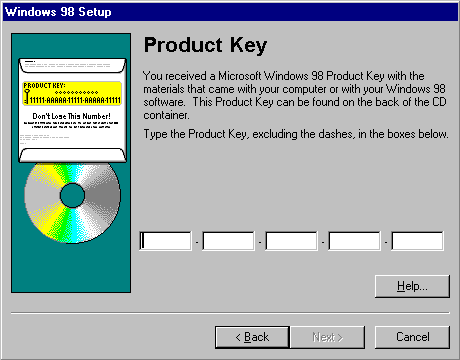
Setup prompts you to enter the Product Key.
Type the Product Key in the spaces provided. The Product Key is located either on the Certificate of Authenticity (COA) or on the backliner of your Windows 98 CD.
If the number you type is not accepted, make sure the Caps Lock key is not on and, if you’re using the keypad to the right of your keyboard, ensure the Num Lock key is on.
After you enter your Product Key, the Select Directory dialog box appears.
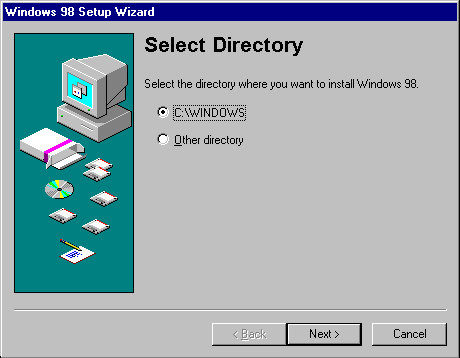
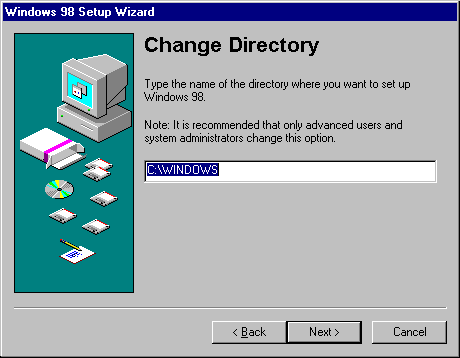
The default directory is C:Windows. You may change this if you want to install Windows in another directory.
Setup checks for installed components and then checks whether there is adequate disk space for the files. It creates the Windows 98 directory structure, including all required folders under the Windows (or Your_InstallDirectory) and Program Files folders.
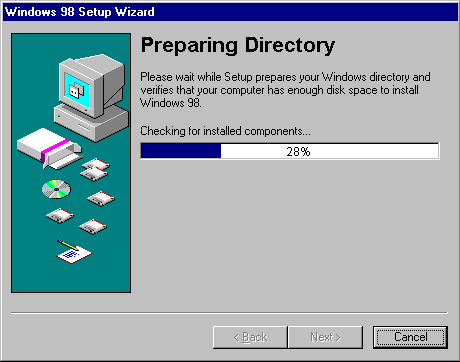
If there is insufficient disk space, Setup Wizard prompts you to free some hard-disk space and then restart Setup.
Once Setup finishes setting up the directory structure, it prompts you to select the type of Setup you want through the Setup Options dialog box.
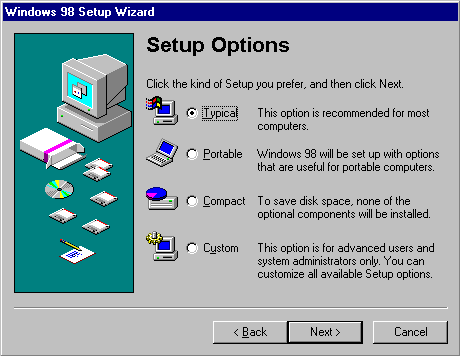
Each Setup option contains a specific set of components to install. When you choose a Setup option, Setup selects by default a set of appropriate components based on your choice. Later, through the Select Components dialog box, Setup gives you the choice to either accept the default selection or select your own components.
In the Setup Options dialog box, the Typical Setup option is selected as the default. Select the Setup option you want, then click Next:
- Typical: For all of the components that are usually installed with Windows 98. Most users should select this Setup option.
- Portable: To install the options generally required for portable computers.
- Compact: The smallest possible installation of Windows 98. For example, you may want to perform a Compact installation if your hard disk does not have much free space. Setup then installs no optional components. If you later want to use an optional component, such as Games or WebTV for Windows, then you have to install it. To install an optional component after Setup is completed, use Add/Remove Programs in Control Panel.
- Custom: To choose which optional components are installed. If you do not select a Custom installation, then Setup installs only the optional components that are selected by default. If you know you are going to need certain Windows components, you may want to select a Custom installation and ensure that those components are included during Setup. Pan European users should choose this option in order to select the required regional settings and keyboard layout for their locale. Pan European users should choose this option in order to select the required regional setting and keyboard layout for their locale.
Windows 98 Setup next asks you to type your name and company name, which Windows 98 uses to identify you for various operations. You must enter this information for Setup to continue.
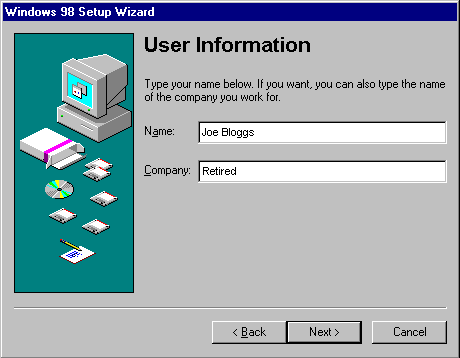
Setup displays the Windows Components dialog box.
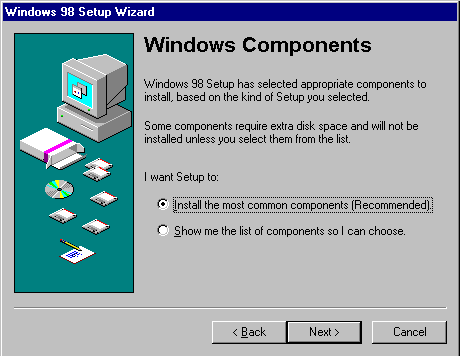
If you select Install the most common components, Setup continues the installation. If you select Show me the list of components so I can choose, the Select Components dialog box appears.
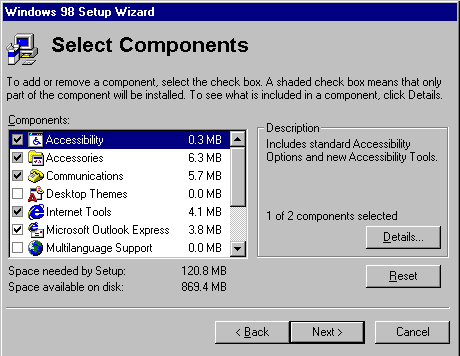
The Select Components dialog box lets you customise your installation by choosing the components you want to install.
To select which components are installed:
- In the Components list, click a component set (for example Communications), and then click Details. A shaded box means that only part of the component will be installed.
- To add a component, make sure the component is checked.
- To remove a component, clear its check box.
- To prevent a component from being installed, make sure the component is not checked.
- Repeat this procedure for each category in the Components list in the Select Components dialog box.
- When you are satisfied with your selections, click Next. If you want to reset the list of components to the default, click Reset.
A dialog box appears, listing the components in the category. Select or deselect the component you want to add or remove, and then click OK.
Note: You can install or remove any of these components after Windows 98 is installed by using Add/Remove Programs in Control Panel.
After you have selected which components you want to install, Setup prompts you to identify how you want your computer to be identified on your network by displaying the Identification dialog box.
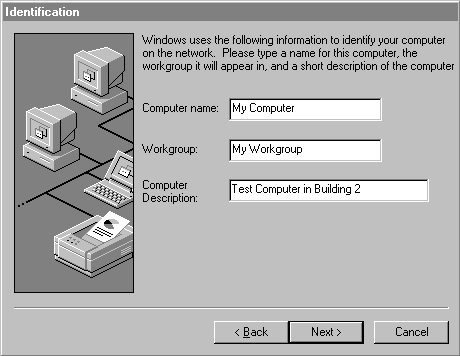
The computer name must be unique on the network, and can be up to 15 characters long with no spaces (no blank characters). The name can contain only alphanumeric characters and the following special characters:
! @ # $ % ^ & ( ) – _ ‘ { } . ~
The workgroup name can be up to 15 characters long and uses the same naming convention as the computer name. The workgroup is used to associate groups of computers together for more efficient browsing.
The computer description can be up to 48 characters long, but it cannot contain any commas (,). This text appears as a comment next to the computer name when users are browsing the network, so you can use it to describe the department or location of the computer.
Select the location for getting region-specific news and other information through media such as channels – Web sites designed to deliver content from the Internet to your computer. Channels become available on your Windows 98 desktop Channel Bar after you install Windows 98 successfully.
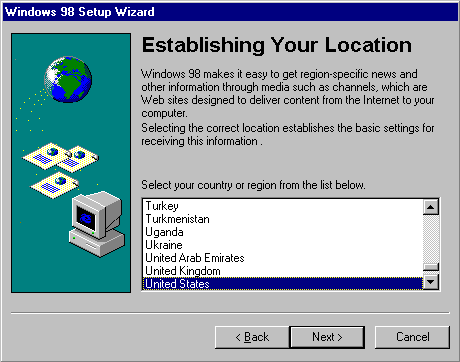
After establishing your location, Setup prompts you to create a Windows 98 Startup Disk.
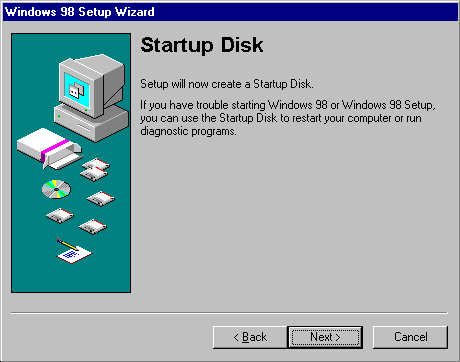
The Startup Disk is a bootable system disk with a collection of real-mode Windows 98 commands and utilities that you can use to restart your computer if you have trouble starting Windows 98 or to run diagnostic programs. It is recommended that you create several Startup Disks. You can create a Startup Disk during Setup and you can create extra copies by using Add/Remove Programs in Control Panel.
Caution: You cannot start Windows 98 if you try to start your computer with a Windows 95 Startup Disk or other existing startup disks (of any version of Microsoft Windows other than Windows 98).
To make a Startup Disk, you need one 1.44 MB floppy disk or two 1.2 MB floppy disks.
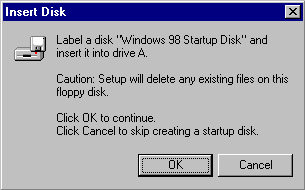
- Click Next on the Startup Disk dialog box. Setup starts creating the Startup Disk.
- Label a floppy disk Windows 98 Startup Disk and insert it into drive A.
- Click OK to create the disk.
- Win98 Installation Planning
- How To Create A Windows Start Up Disk
- Installing Windows 98 – Getting Your CD Drive to Work for Installation
- How To Create A FAT32 Partition on Your Hard Drive
- Win98 Installation Drive Formating
- Win98 Installation
- Win98 Installation Phase 1
- Win98 Installation Phase 2
- Installing Windows 98 – Copying the Windows Files to Your Computer
- Restarting Your Computer After Installing Windows
- How To Do a Clean Installation of Win98 – Phase 5: Setting Up Hardware and Finalising
- Installing Windows 98 – Upgrading to Win98SE
- How to Update Microsoft Windows with Patches and Service Packs
- Win98 Driver Installation
- Win98 Installation Tuning